We assume that you learned already about WebP image format Google created. You generated WebP versions of your files with a smart tool – we assume that it was ShortPixel. And, finally, you employed a plugin (like wp-webp) to deliver the WebP images to users who visit your site from a compatible WebP-compatible browser (Chrome and Opera, mainly, a full list is to be found here).
What’s next? Of course, you want to test if everything works as expected. The easiest method to see if your website has WebP images has three simple steps:
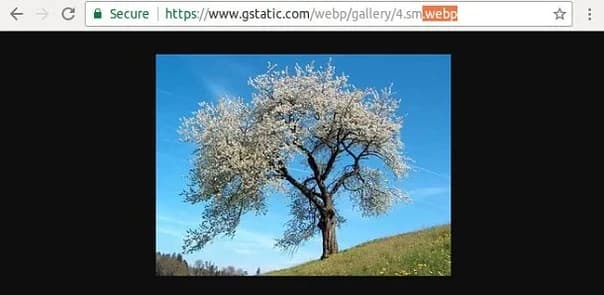
Step 1: Open your site in Chrome browser.
Step 2: Right-click on an image and choose Open in new tab.

Step 3: Check the image extension.
If it is .webp, then we only could congratulate you. And Google will love your site a bit more!
HOW TO GENERATE WEBP IMAGES WITH SHORTPIXEL
ShortPixel freely generates WebP files if you optimize your images with our WP plugin, and you have checked WebP versions option in ShortPixel Settings – Advanced section:

WordPress webp-fähig machen per WordPress-Plugin WebP-Express oder Media WebP
(Alternative: fasterimage.io mit dazugehörigem WordPress-Plugin)