
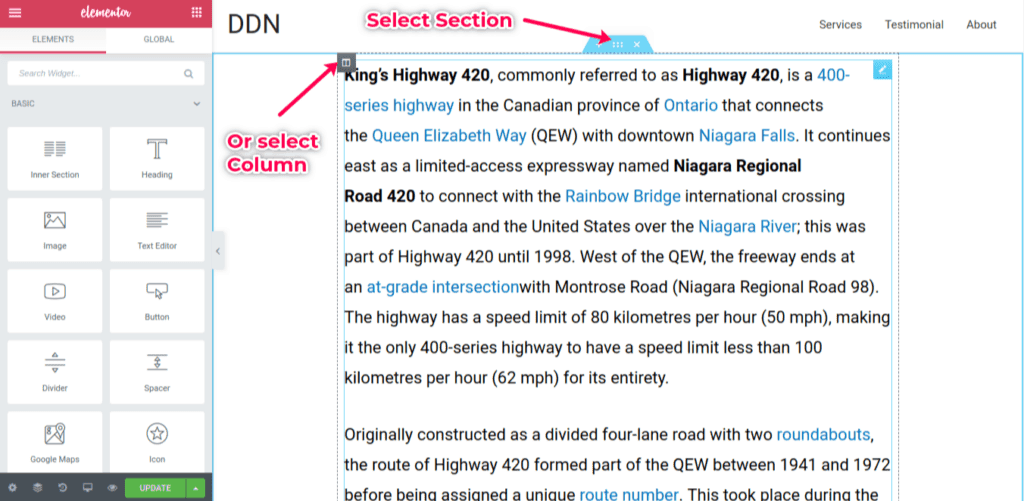
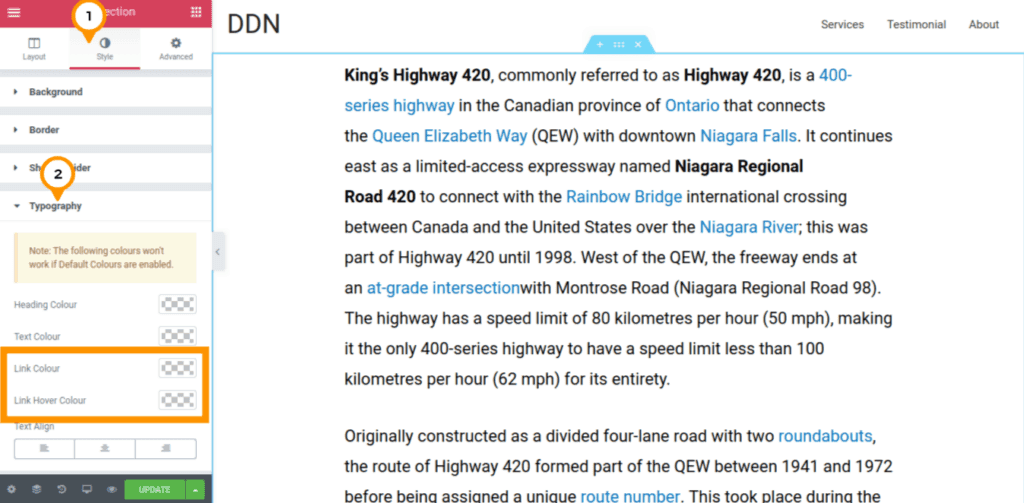
Step 4. Choose your preferred link color
You can now click on the color picker to choose your preferred color or paste in your color code.
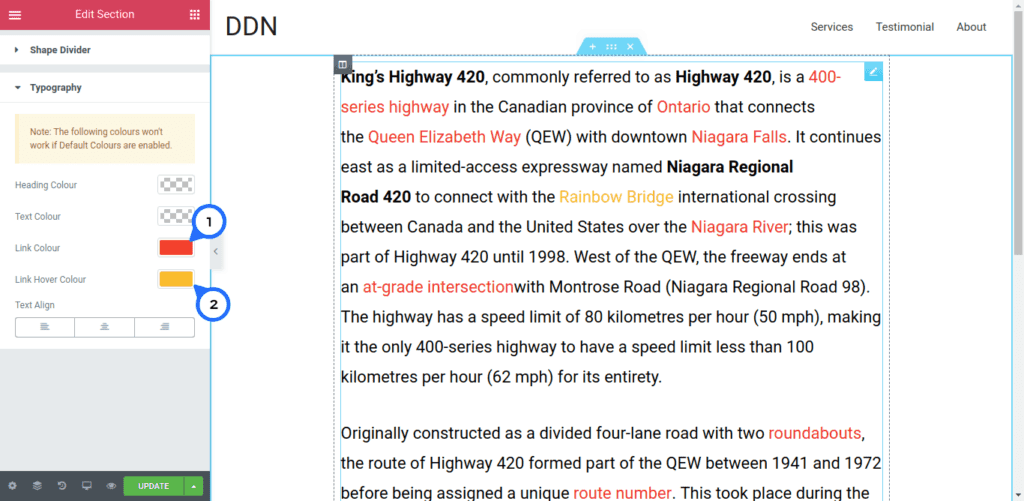
- Under “Link Color” choose the color for your links.
- Under “Link Hover Color” choose the color that you want to display when cursor is hovered on the links.
That is it, you have successfully set color for your links on an Elementor Page.
This also allows you to override default theme link color.
Question is; what if you want to change link color for entire website?
Well, see next section on how to do that.
How to Change Link Color Globally
Unfortunately, this options isn’t available in Elementor, yet.
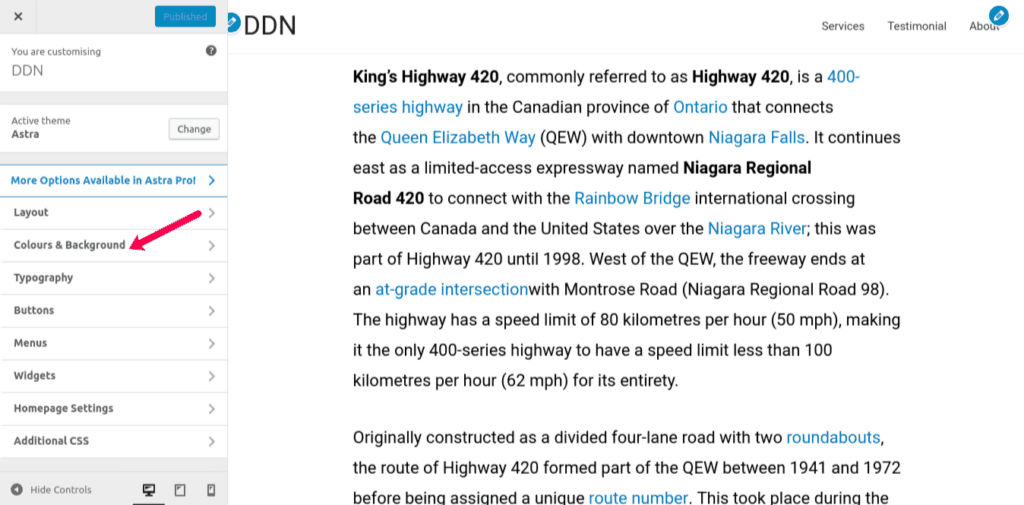
To achieve this, you will have to rely on theme customizer to set global link color.
In the next steps I’m going to show you how to do this with Astra theme, this should be similar with other themes as well.
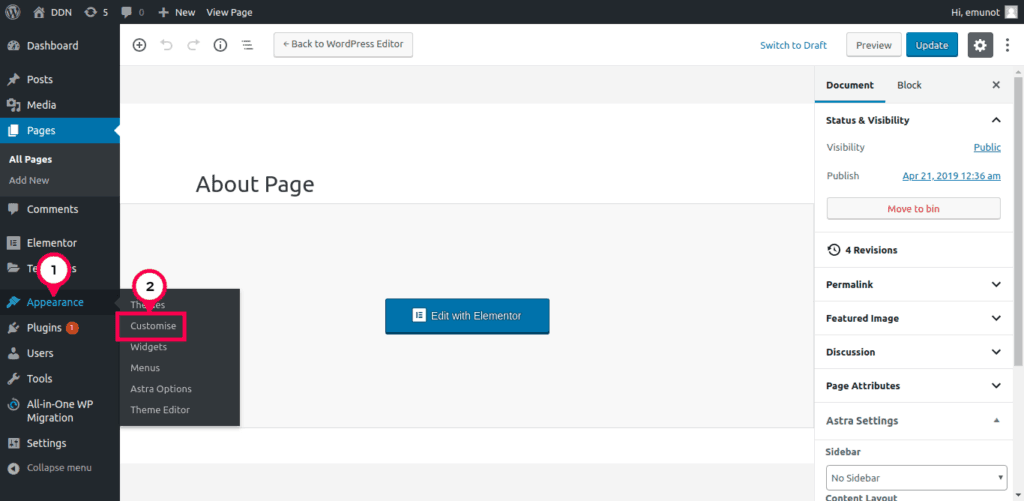
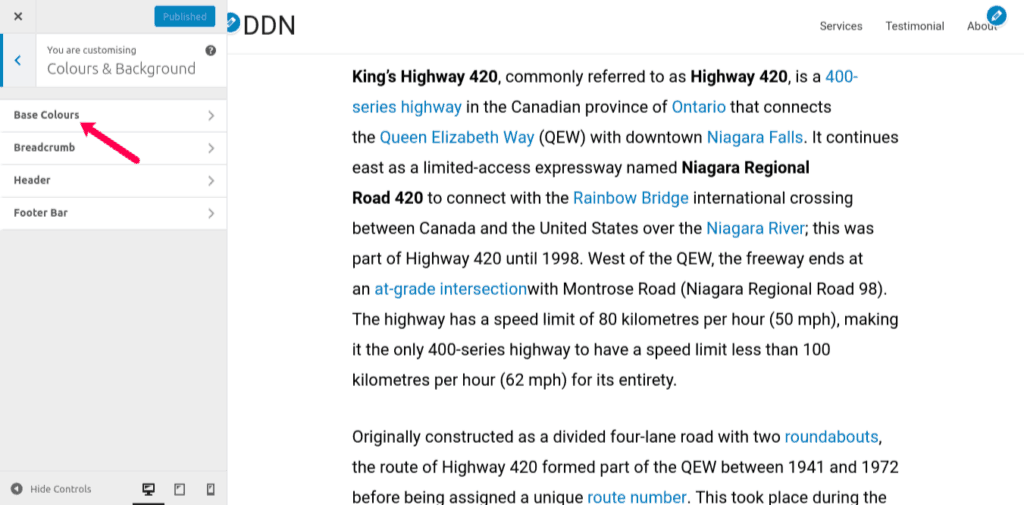
Step 4: Set your global link color
You should now see default global colors.
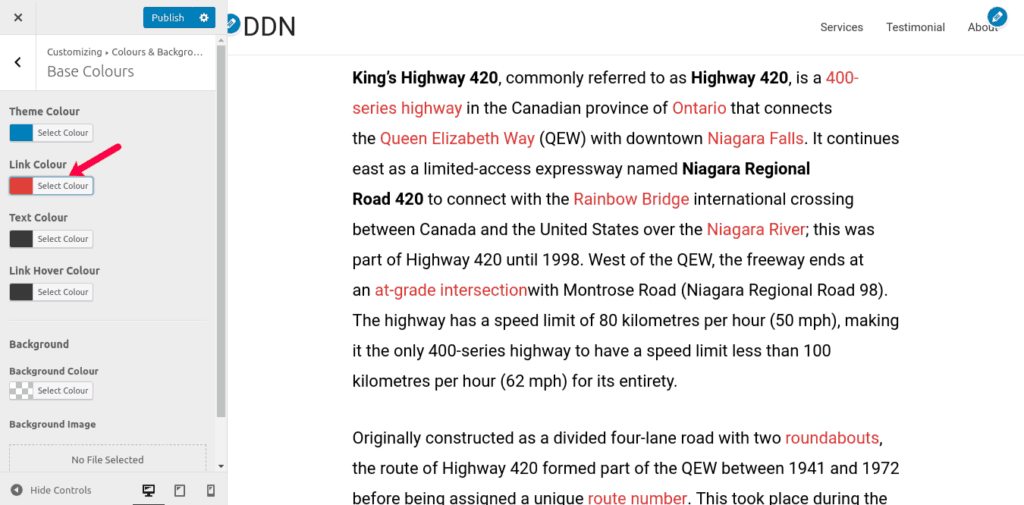
Click on “Link Color” color picker to select or set the color you’d like to be global link color across your website.
You have now set your global link color which you can still override with Elementor following the steps shown in the first part of this tutorial.