
Control OSMC With Your Cell Phone
In my last article, I said that the mouse and keyboard were temporary, and I meant it. Seeing as your Raspberry Pi 3 has on-board WiFi and Bluetooth, there is no reason to use any wired peripheral. We have several options when it comes to controlling the new set up; we could use our cellphones, Bluetooth keyboards, or even our own TV remote. In this article, we will be covering using your cell phone to control OSMC.
Using your Cell Phone:
Preparing the system:
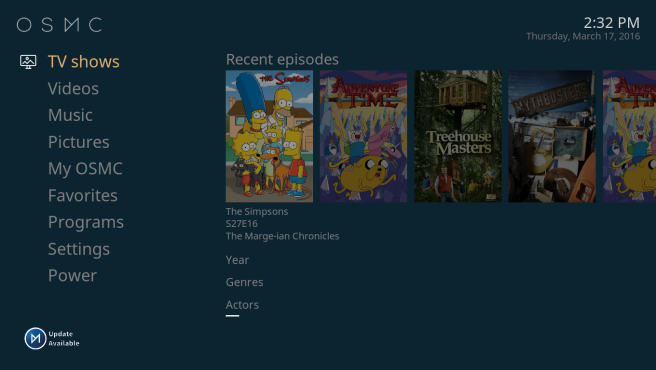
I think this is by far one of the most convenient options when it comes to controlling OSMC because I almost always have my cell phone on me. The first step in the process is connecting to the internet and finding your OSMC Install’s IP address. To do this, you’ll initially need your keyboard. First, go to the “My OSMC” section using the arrow keys to navigate. Press enter and you will enter the circular menu.
Now you will press the down arrow to select the network tab.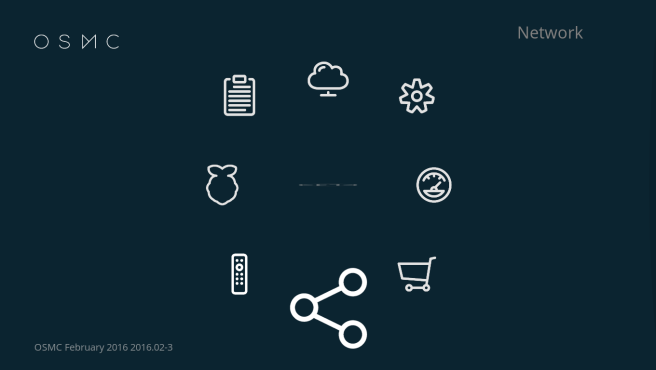
Now press enter and you will enter the network setting menu tree.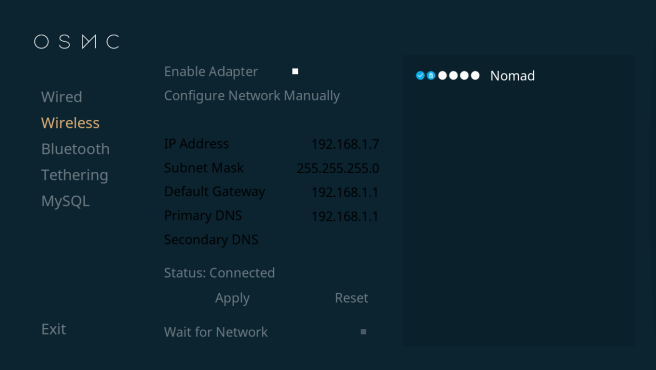
If you have a wired connection press enter here, if you plan on using wireless, press the down arrow and then enter to select the wireless menu settings.
If your adapter is not enabled (the box is shaded grey rather than white), press right once then press enter. This will enable your wireless adapter, allowing OSMC to use it. Once enabled, press right again once your WiFi has appeared. Press enter and then enter your password. This will connect your OSMC install to your local network. After you’re connected to the network, you will now have an IP address. As you can see in the picture above, mine is 192.168.1.17. This IP address is very important as it will allow our mobile app to access the phone. After you’ve noted the IP address, we need to make sure that the OSMC install will allow access to your mobile device. To do this, go back to the home menu by pressing ESC.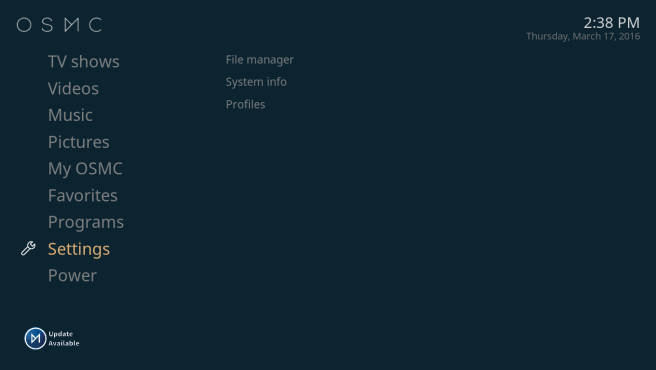
From here, select the Settings Menu, then select the services menu, finally select the Remote Control Tab.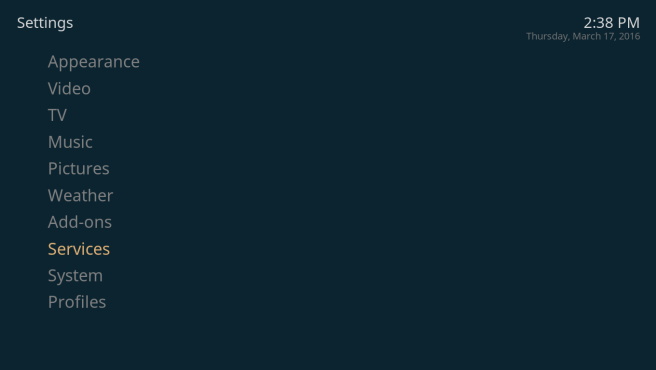
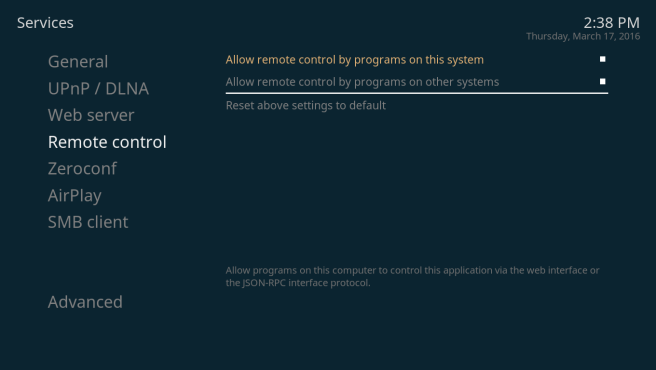
Make sure that both boxes are ticked (shaded white) for the options “Allow Remote Control by programs on this system” as well as “Allow Remote Control by programs on other systems.” Now Press the Backspace key to go back to the general Services menu, select the Web Server Menu, and make sure that the “Allow Remote Control via HTTP” box is enabled (solid white).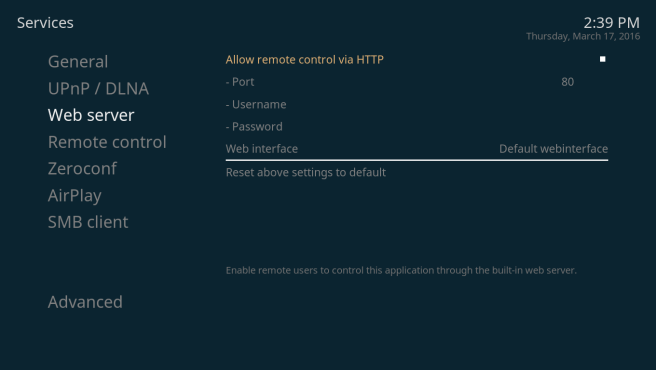
Once all of these changes are applied, you can now move to your mobile device.
Android Users (iOS users scroll down):
I recommend the Kore app, available in the Google Play Store.
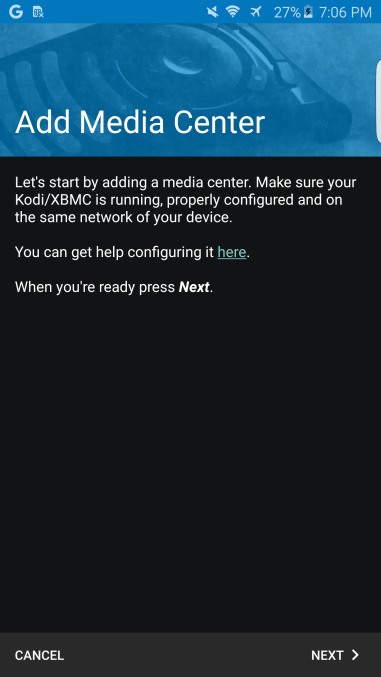
Upon starting the App, you should be greeted with the above screen. Press Next.
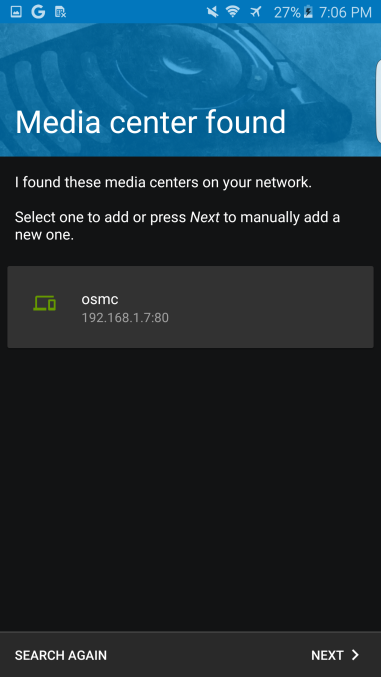
If you’re lucky, you will receive the above screen and you can just tap the box that appeared if the IP address matches the one from earlier (Tap the box and skip the rest of this blurb). If you’re not so lucky, you won’t find one and you’ll have to configure manually. If that’s the case press next.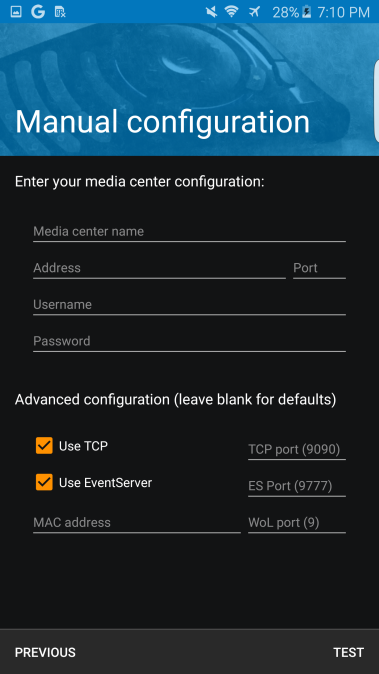
Luckily everything should be default.
- Media Center Name- OSMC
- Address- the IP address you got earlier
- Port- 80
- Username and Password shouldn’t be needed.
After you enter all the information, press test, it should work just fine. You’ll be greeted with this screen.
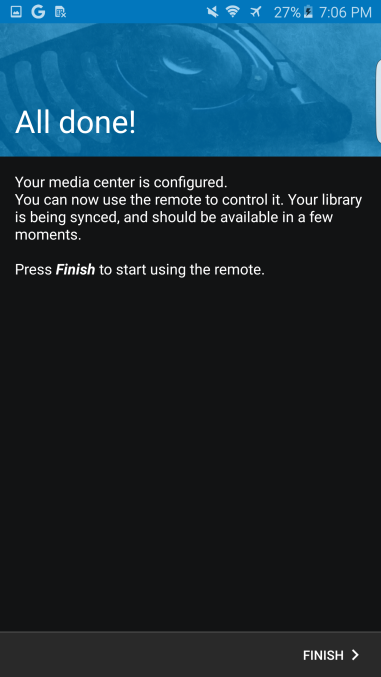
Press Finish and you’re done!
iOS Users:
The Official Kodi Remote is the app that I’ll recommend.
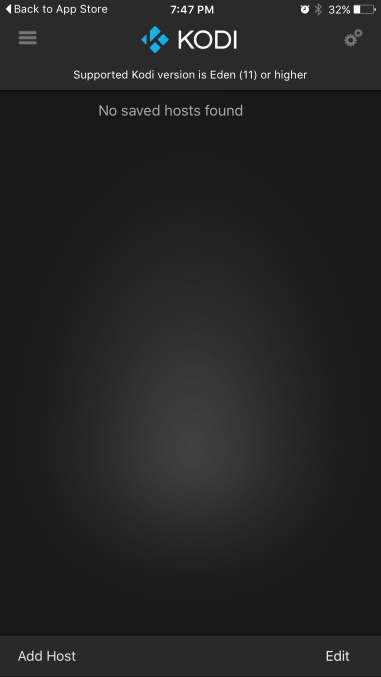
Upon start up, you’ll be greeted with this screen. Press the Add Host button in the lower left hand corner.

That will bring you to this screen. Pressing the Find Kodi Button will automatically fill in all of the necessary information if your device is on the same network. Do not share your MAC address. Press Save and you’re done.
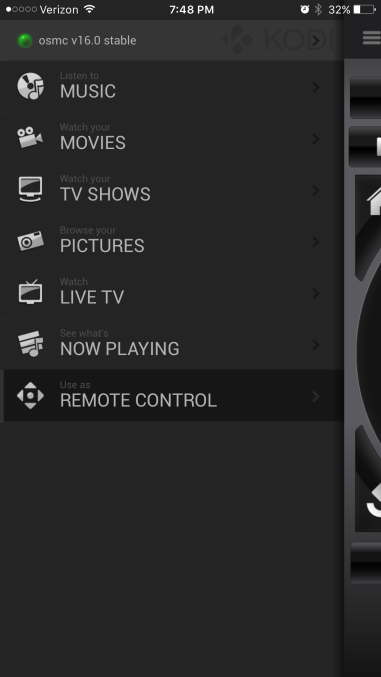
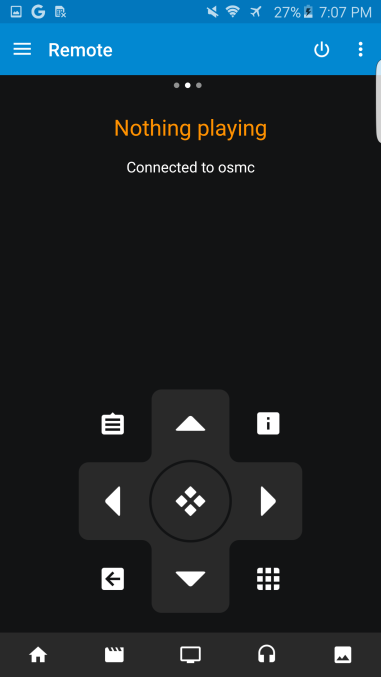
Pressing Remote Control will allow you to press on screen buttons to act at as the arrow keys on your keyboard.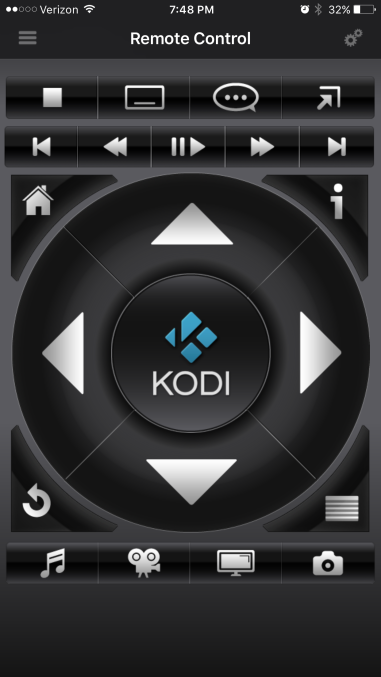
Now you’re finished. You can unplug your keyboard and mouse, and use your mobile device to control your OSMC install.