Das Foto, von dem man die Farbe nehmen möchte, einfach auf das Basisfoto ziehen. Mit dem Eydropper-Tool die gewünschte Farbe im kleinen Muster-Foto aufnehmen.
Eine neue, leere Ebene anlegen. Auf diese Ebene einen Farbklecks von der Basisfarbe malen, dasselbe von der umzufärbenden Farbe.
Eine Einstellungsebene mit Graduationskurven anlegen.

mit dem Farbaufnahmewerkzeug die beiden Farbkleckse anklicken, um die Farbinformationen zu erhalten.

In diesem Beispiel müssen wir R 117 G 95 B 81 in R 174 G 123 B 105 umwandeln.
Dies machen wir über die einzelnen RGB Kanäle der Graduationskurven.
WICHTIGER SCHRITT:
Über den „Farbfinger“ klicken wir mit gedrücker CTL + Shift // CMD + Shift- Taste auf den zweiten Farbklecks, den wird ändern möchten. (Nun wird auf die einzelnen RGB-Kanäle der entsprechende Farbpunkt übertragen).

Man kann nun in den einzelnen Kanälen über INPUT und OUTPUT die Farbe manipulieren. R möchten wir INPUT 117 zu OUTPUT 174 ändern (im Kurven-Eigenschaften-Fenster eventuell ganz nach unten zu INPUT / OUTPUT scrollen) Also die beiden Werte eintragen. Das Ganze für die verschiedenen Kanäle durchmachen.
Die Beispiel-Foto-Ebene und die Farbklecks-Ebene können gelöscht werden.
Über eine Maske in der Graduationskurve die neue Farbe einmalen.
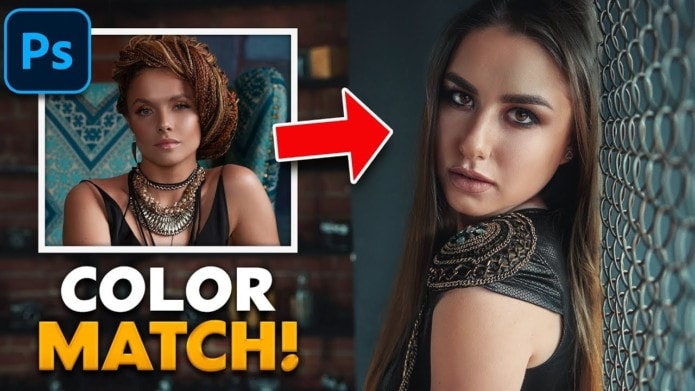
Match Skin Tones in Photoshop
Time needed: 4 minutes.
This step-by-step tutorial will help you match skin tones in Photoshop by using the Curves Adjustment Layer.
- Select the Color To Sample
Find an image with skin tones that you like. Analyze your image and find a color that best represents the skin tones. Avoid highlights or shadows.
You can then use the Color Sampler Tool (nested under the Eyedropper Tool) to sample the color.
Make sure that from the Options Bar you set the Sample Size to at least 5×3 to get a better representation of the color you sample.
From the Info Panel, you will now see the color you sampled. Take note of the RGB values. - Select the Target Color
Next, sample the color in your image that best represents the skin tones. Again, avoid highlights or shadows. Use the Color Sampler Tool to sample the color.
- Create a Small Selection Around The Skin
Use the Lasso to create a selection around the skin. No need to be precise at this step.
- Create a Curves Adjustment Layer
Make sure that the Curves Adjustment Layer is on top of all the layers in your document.
- Set the RGB Values in Each Channel of The Curve
From the Properties Panel, enable the On-image Adjustment Tool.
Click on the color that represents your target’s skin tone. while holding Shift Ctrl (Windows) Shift Command (macOS). - Match the RGB Values
From the RGB dropdown select Reds. Then set the Output box to the “R” value of the sample color. Found in the Info panel. Then repeat this process with the corresponding values in the remaining channels.
- Selectively Apply The Effect with a Layer Mask
You can now fill your mask with black to hide the effect from your image entirely. Then with the Brush Tool, you can paint with white to selectively reveal the effect.