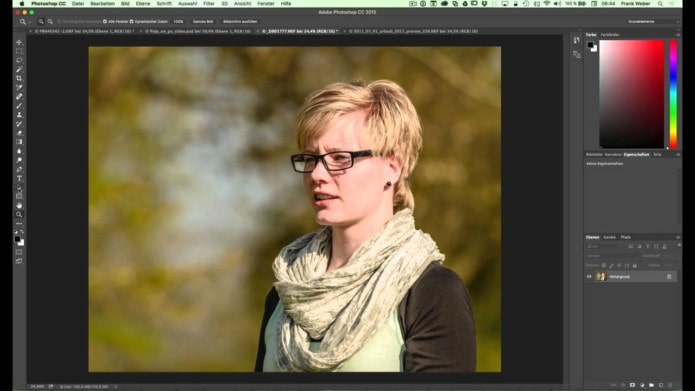
Weißabgleich
- neue, leere Ebene erstellen
- diese Ebene mit 50% grau füllen (Bearbeiten – Fläche füllen – 50% grau)
- Mischmodus „Differenz“
- Einstellungsebene Schwellenwert drüber legen und den Regler ganz nach links schieben. Langsam nach rechts fahren bis Konturen erscheinen.
- mit dem Farbaufnahmewerkzeug (i) den dunkelsten Punkt markieren
- Einstellungsebene Gradationskurve drüber legen.
- mit der mittleren Pipette (Mitteltöne) den dunkelsten Punkt anklicken
- Schwellenwertebene & graue Ebene deaktivieren
Kontrast und Tonwertkorrektur
- Einstellungsebene Schwellenwert
- dunkelster Punkt: Regler ganz nach links und langsam nach rechts fahren. Dunkelsten Punkt mit Farbaufnahmewerkzeug (i) markieren
- hellster Punkt: Regler ganz nach rechts und langsam nach links fahren. Hellsten Punkt ebenfalls mit Farbaufnahmewerkzeug markieren.
- die Einstellungsebene Schwellenwert kann nun deaktiviert werden
- Einstellungsebene Tonwertkorrektur drüber legen. Den dunkelsten und hellsten Punkt (die entsprechende Pipette) auswählen >>> die beiden Punkte, die mit dem Farbaufnahmewerkzeug ausgewählt wurden, mit der jeweiligen Tonwertkorrektur-Pipette anklicken.
Perfect Skin Color with Percentages

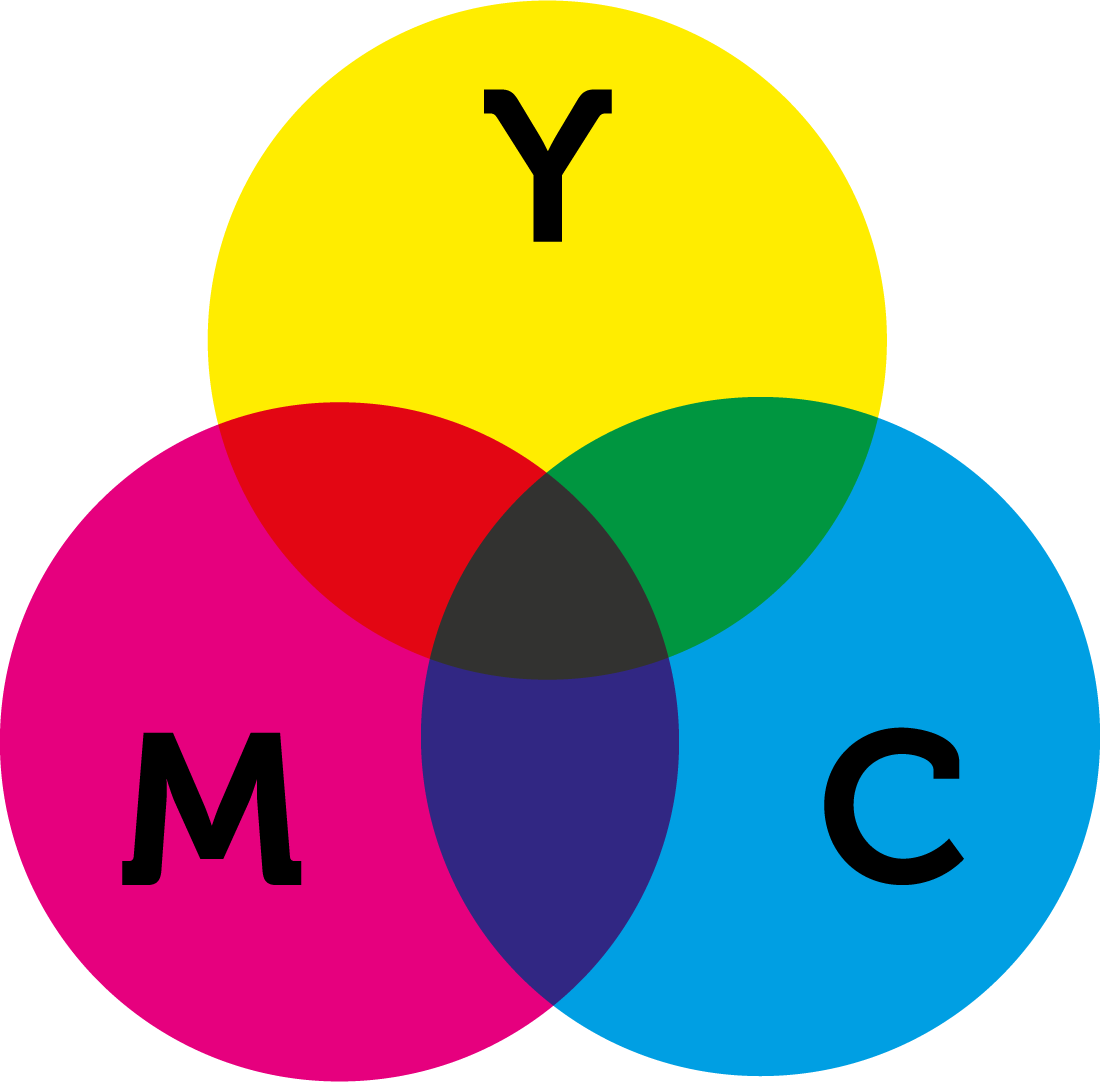
There is a method to the madness of getting great colored skin on your subjects in Photoshop. I have a PDF that you can download by clicking this link which will give you a breakdown of White, Black, Asian/Hispanic, and even a typical white baby as far as the amount of cyan, magenta, yellow, and black in each person’s skin.
Setting the Color Sample Spot


The key to this technique is selecting a good spot from which to measure and adjust the colors. Diffused highlights work the best (not the brightest part of the highlight, but stay away from shadows too.) Use the Eyedropper tool and hold down the Shift key and click to drop a color sample point. If you open the Info panel (Window>Info) you will see this point register at “#1”. Click the little eyedropper icon in this panel and choose “CMYK Colors” so you can view the percentage of CMYK that makes up that area of the subject’s skin.
Using Curves to Adjust those Colors

Being with the Green channel in your Curves adjustment and Cmd/Ctrl + Click with the eyedropper tool (while the Curves dialog box is opened) on the eyedropper sample point that you placed near a diffused highlight and then push or pull the green until you get a Magenta reading in the Info panel that is in accordance with the skin that you’re retouching (i.e. white skin should be between 20-27% generally.) Do the same for Red and Blue channels using the PDF I have available above. This will give you well-corrected skin for a wide variety of subjects!
Method 4.) Hue & Saturation Adjustment Layer

The 4th method simply requires a Hue/Saturation adjustment layer. Use the channel drop down to target any color that is overpowering your photo and shift the hue or reduce the saturation. NOTE: This technique works best when there is a fairly obvious color cast that is uniformly affecting the entire image.
Method 5.) Free Hand Color Adjustment

The last method is simply taking a Curves adjustment layer or two and using the little “finger” icon while in any of the Red, Green, or Blue channels and drag up or down on parts of the image to infuse Red/Cyan, Green/Magenta, or Blue/Yellow wherever it’s needed. This is particularly effective with landscape photography. TIP: Watch the video to see exactly how I do this. I added some notes to the screenshot below to give you an idea of what I did as well.