1. Create a new document in Photoshop
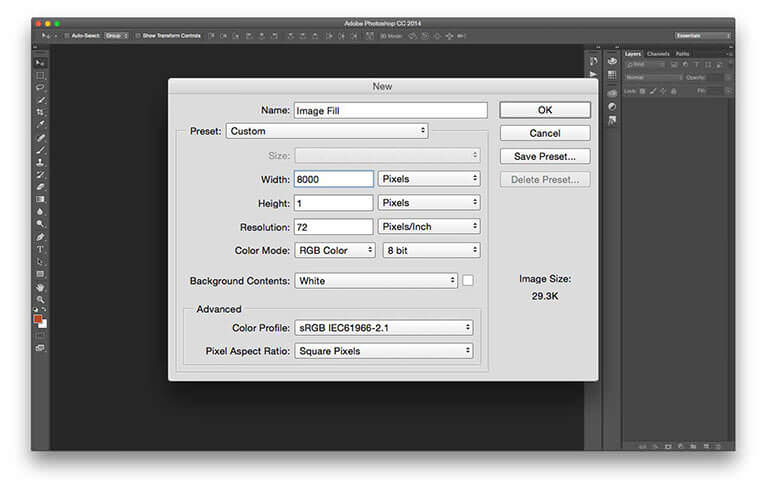
The first thing we need to do is create an image that will act as the fill background of our rectangle in Muse. Open Photoshop, Open the New Document dialog (File > New). We want to make sure the background image will fill any width of browser (and make it future-proof) so set the Width to something huge – 8000 pixels is a good figure. We’ll be using the vertical tiling option to fill the rectangle, so our height only needs to be 1 pixel. Click OK to create the document.
An image showing a new document open in Photoshop CC.
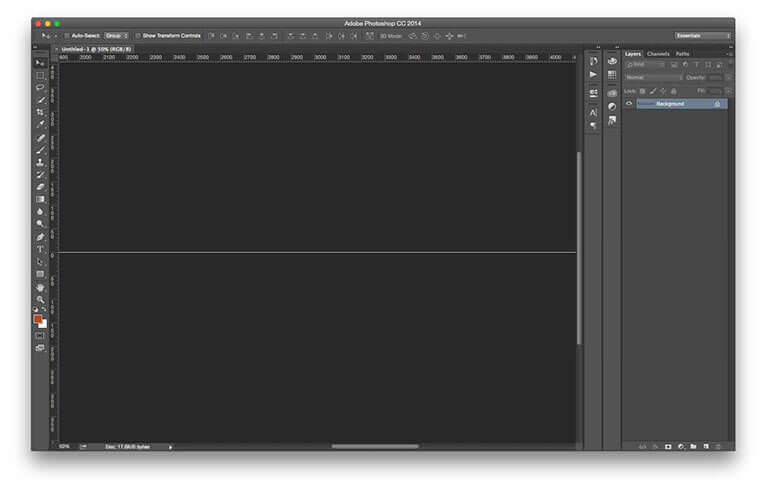
2. The beginning of the new background image
Here’s the basis for our background image. It doesn’t look like much at the moment, of course.
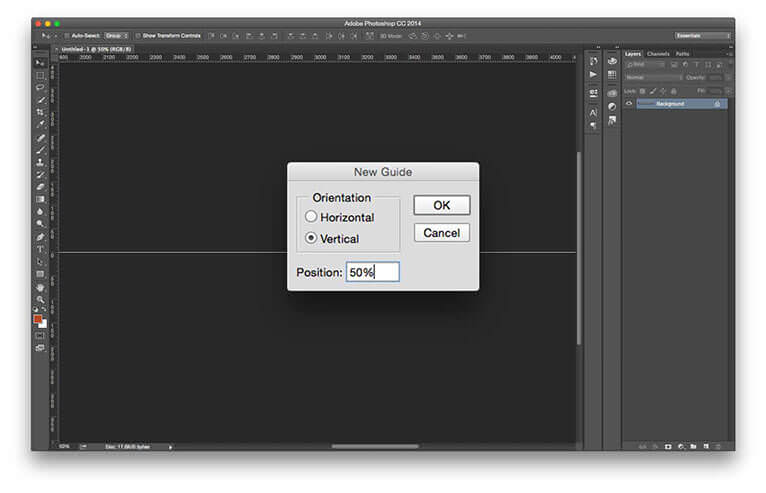
An image showing the New Guide dialog in Photoshop CC.
3. Create a guide
We need to make an exact 50/50 split. The best way to do this is create a guide. This way we’ll be able to snap to the centre of the document width. Go to View > New Guide. Set the Orientation to Vertical. Now type 50% into the Position box. Click OK to create the guide.
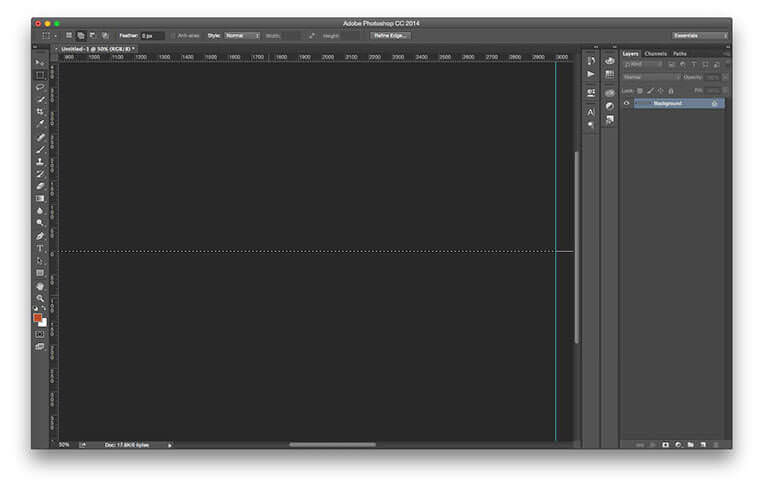
An image showing the Rectangular Marquee tool bing used to create a selection of half the image.
4. Create a selection
Next, we need to create a selection that spans the left half of the document. Grab the Rectangular Marquee tool (shortcut M). Position the cursor to the left of the centre guide. Click and drag out a selection over to the far left of the canvas, making sure that it’s completely selected; it might be necessary to scroll the workspace as you drag. Release the mouse to create the selection.
5. Fill the first half
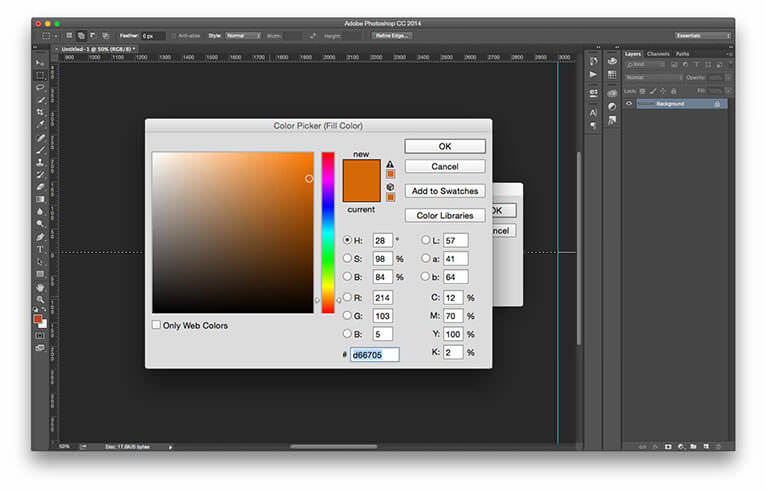
Next, we need to fill the selected area with our first colour. Go to Edit > Fill (oder rechte Maustaste – Fläche füllen… – Farbe). Set the Contents to Color. The Color Picker dialog opens. Choose your first colour, I’ve decided on a fiery orange. Click OK to accept the colour choice, then OK again to fill the area with colour.
An image showing half of the document filled with colour.
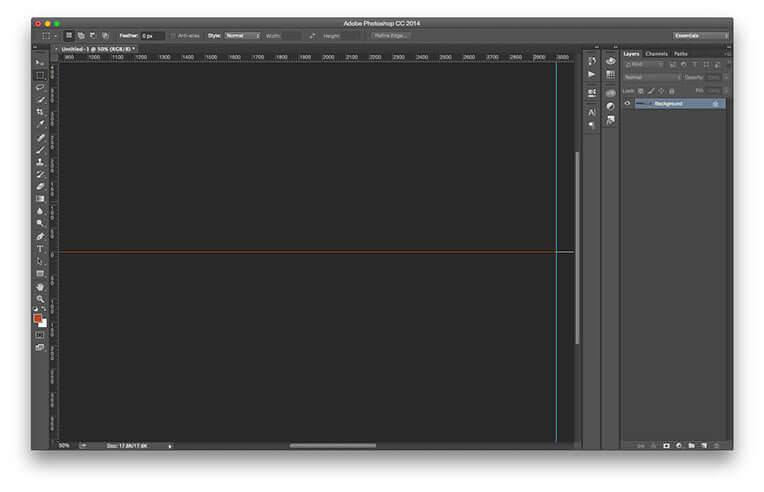
6. The first half complete
Clear the selection (Select > Deselect). Here’s how our image looks so far with exactly half of it in orange,
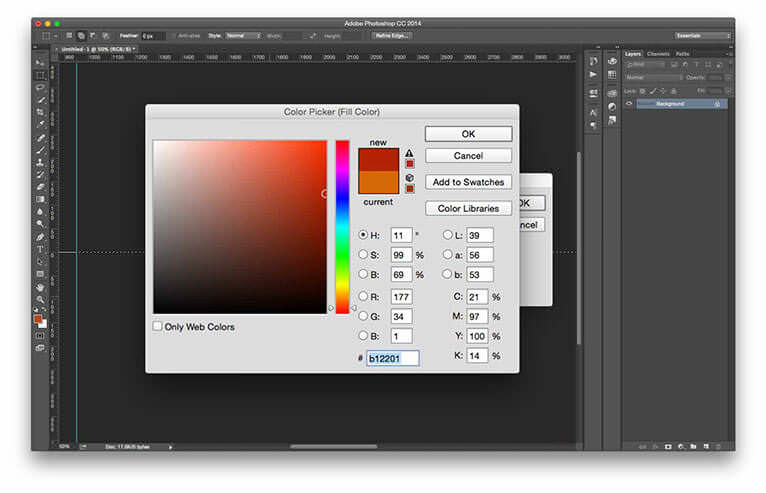
An image showing the color picker being used to choose the colour for the second half of the image.
7. Fill the second half
Repeat steps 4 and 5, this time creating the selection across the entire right side of the document. Select a different colour for the section – you’ll probably need to click twice on the Contents setting to bring up the color picker – I’ve used deep red in this case.
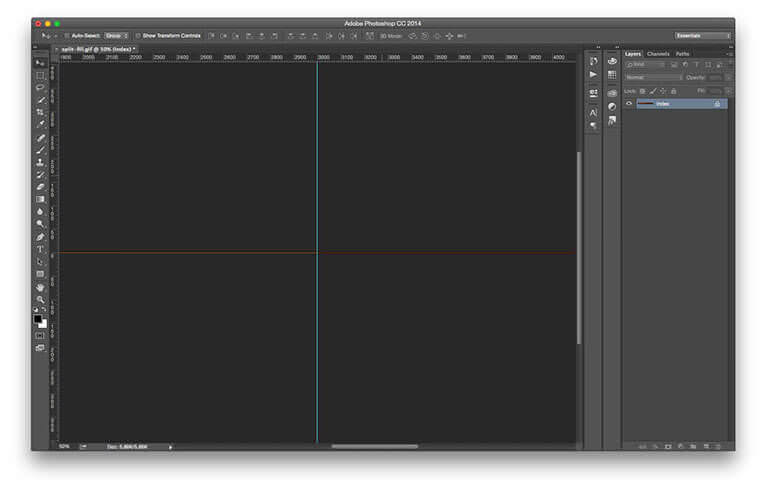
An image showing the completed image in Photoshop.
8. The completed document
Clear the selection as before. This is how our finished image looks with an even split of 50% orange and 50% red.
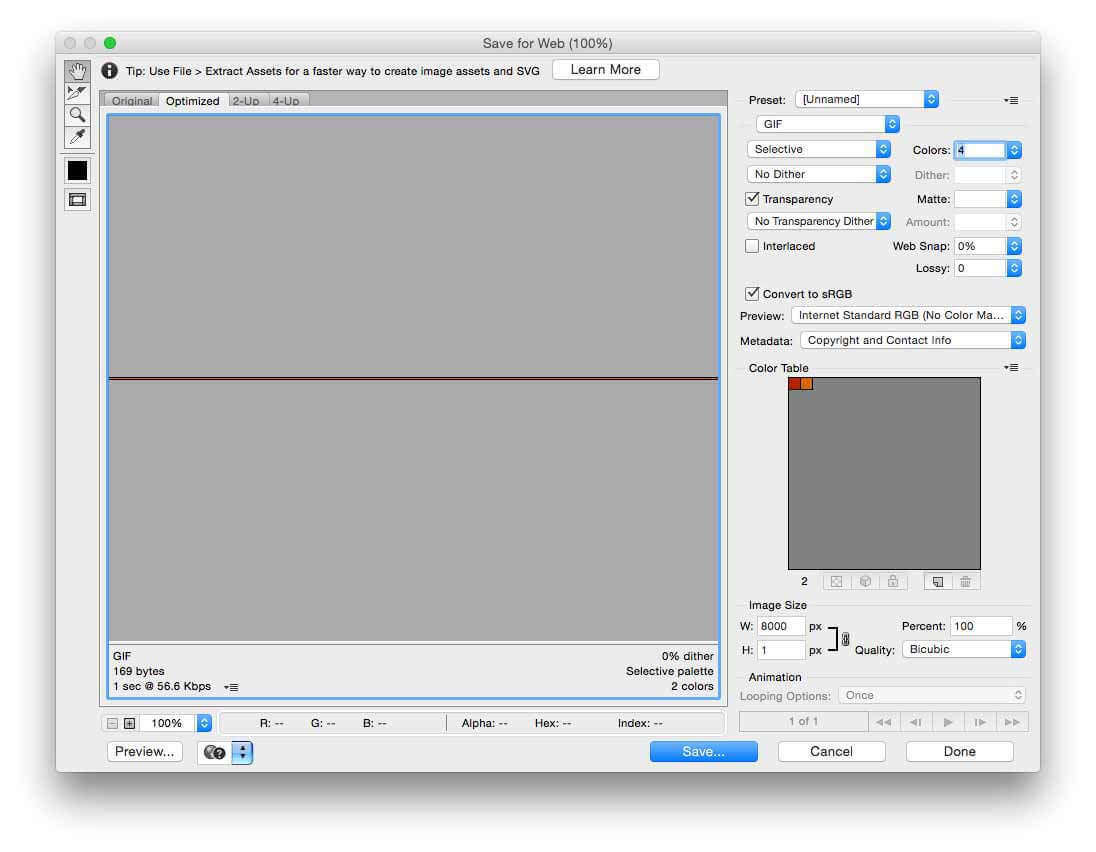
An image showing the Save for Web dialog in Photoshop CC.
9. Save the image
We need to save the image to use in Muse, of course. Go to File > Save for Web. Since we only have two colours, we can save the file in GIF format. This will maintain the sharpness of the image as well as keeping the file size to a minimum. Select No Dither to prevent any anti-aliasing. The rest of the settings can be left at their defaults. Click Save to save the file to the location of your choice.
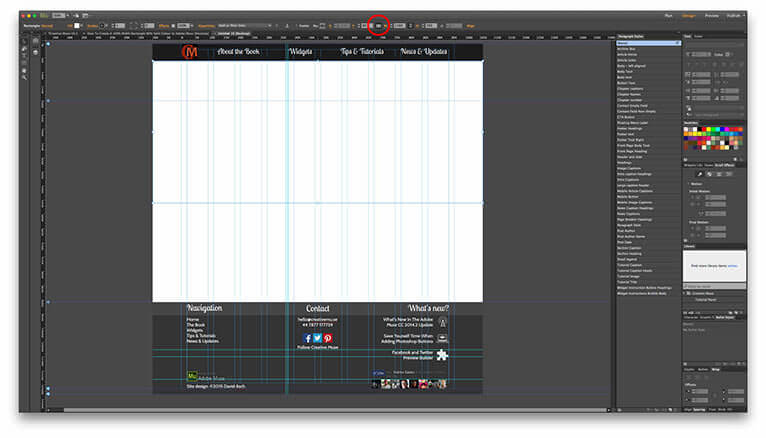
An image showing a 100% width rectangle being drawn in Muse.
10. Create a rectangle in Muse
Now we can set about creating our design element. Switch back to Muse, Grab the Rectangle tool (shortcut M). Draw out a rectangle on the page at the required height and position. Click the 100% Width button on the Control Toolbar (circled in red) to set the rectangle to span the browser width.
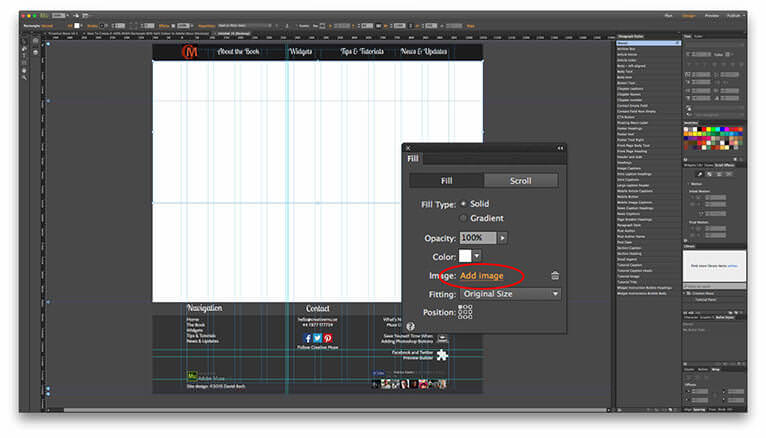
An image showing the Fill panel in Muse being used to set the rectangle’s background fill image.
11. Set the rectangle background fill type
Open the Fill Panel. If it’s not showing, you can open it from the Window Menu. Click the Add Image button. Select the image we created from its save location. You probably won’t see the single row appear at the top of the rectangle but it is there.
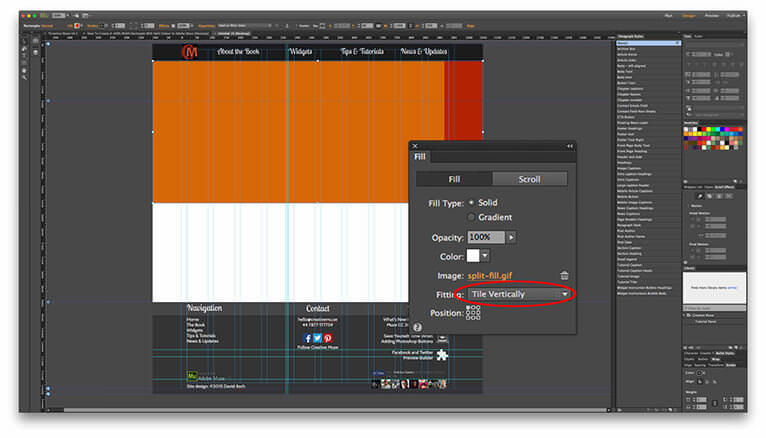
An image showing the Fitting style being set in the Fill panel of Muse.
12. Change the background image fitting type
Next, we’ll set the fitting type. This determines how the rectangle is filled. Change the option to Tile Vertically. The rectangle is now filled from top to bottom with the image. As you can see, we’re not quite there yet.
An image showing the background image position being set to top-centre in the Fill panel of Muse.
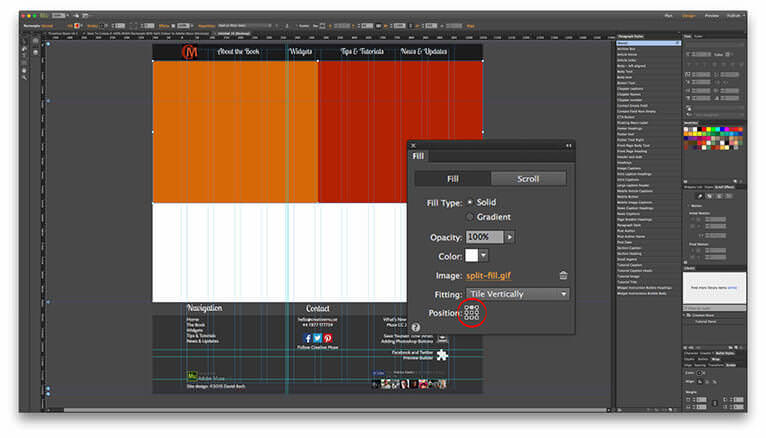
13. Centre the background image
The final part of the technique is to ensure the background image is centred. Click the top-middle square on the Position grid. The background now snaps into place with the split in the dead centre of the page.
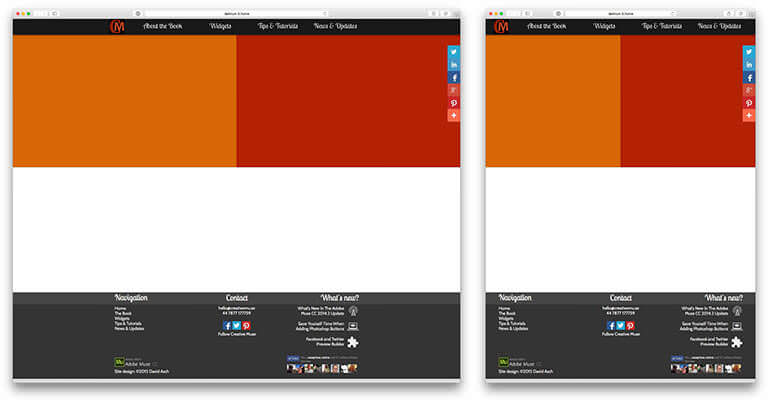
An image showing a preview of the technique in the browser at two different widths.
14. The completed technique in preview
That’s the technique completed. As the screenshots show here, we have our 100% width design element with a perfect 50/50 colour split.
I hope you find this tutorial useful in your own projects. If you have any questions or comments, please feel free to do so below and if you like it, I’d really appreciate if you would share it.

